
Installing gAIa as an App
gAIa works right in your browser, but installing it as a PWA gives you a full-screen, native-app experience with an icon on your home screen. Here's how to set it up on iPhone, Android, Mac, and Windows.
gAIa is a Progressive Web App (PWA) — all you need is a browser URL to get started: https://ai.gus.earth. It works seamlessly across major web browsers (Chrome, Safari, Firefox, and Edge) on both desktop and mobile devices.
However, depending on your browser's navigation bar settings, certain parts of the gAIa user interface might occasionally be obscured by browser toolbars.
To enjoy an uninterrupted, full-screen native app experience — complete with an app icon on your home screen — follow the simple setup instructions for your device below.
On Mobile Devices
Installing gAIa PWA on iPhone & iPad (Safari)
Open Safari on your iOS device.
Go to https://ai.gus.earth
Tap the Share button (the square icon with an arrow pointing upward located in the navigation bar). On newer versions of iOS, tap the ••• button first, then Share.
Scroll down the share menu and select Add to Home Screen.
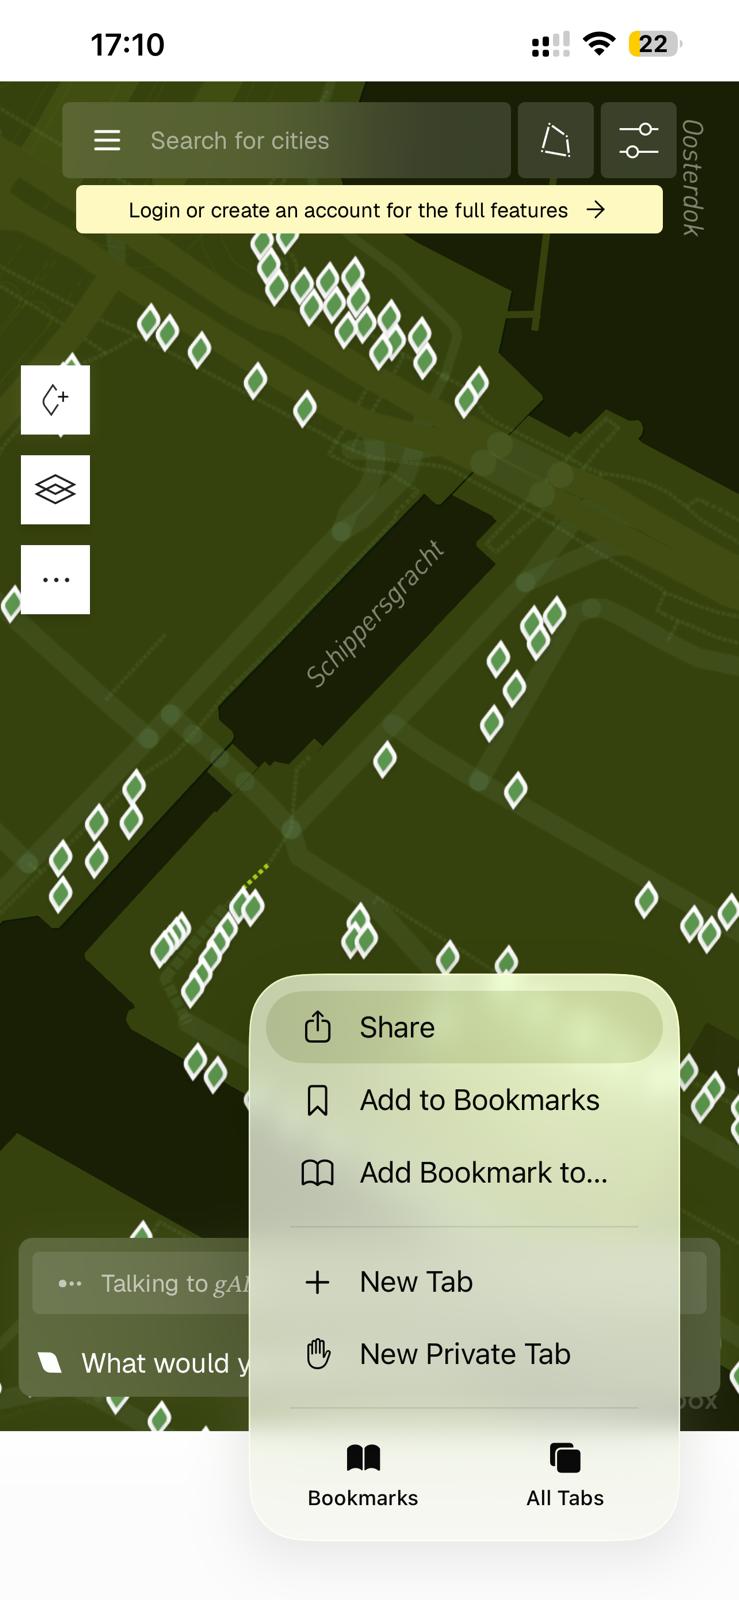
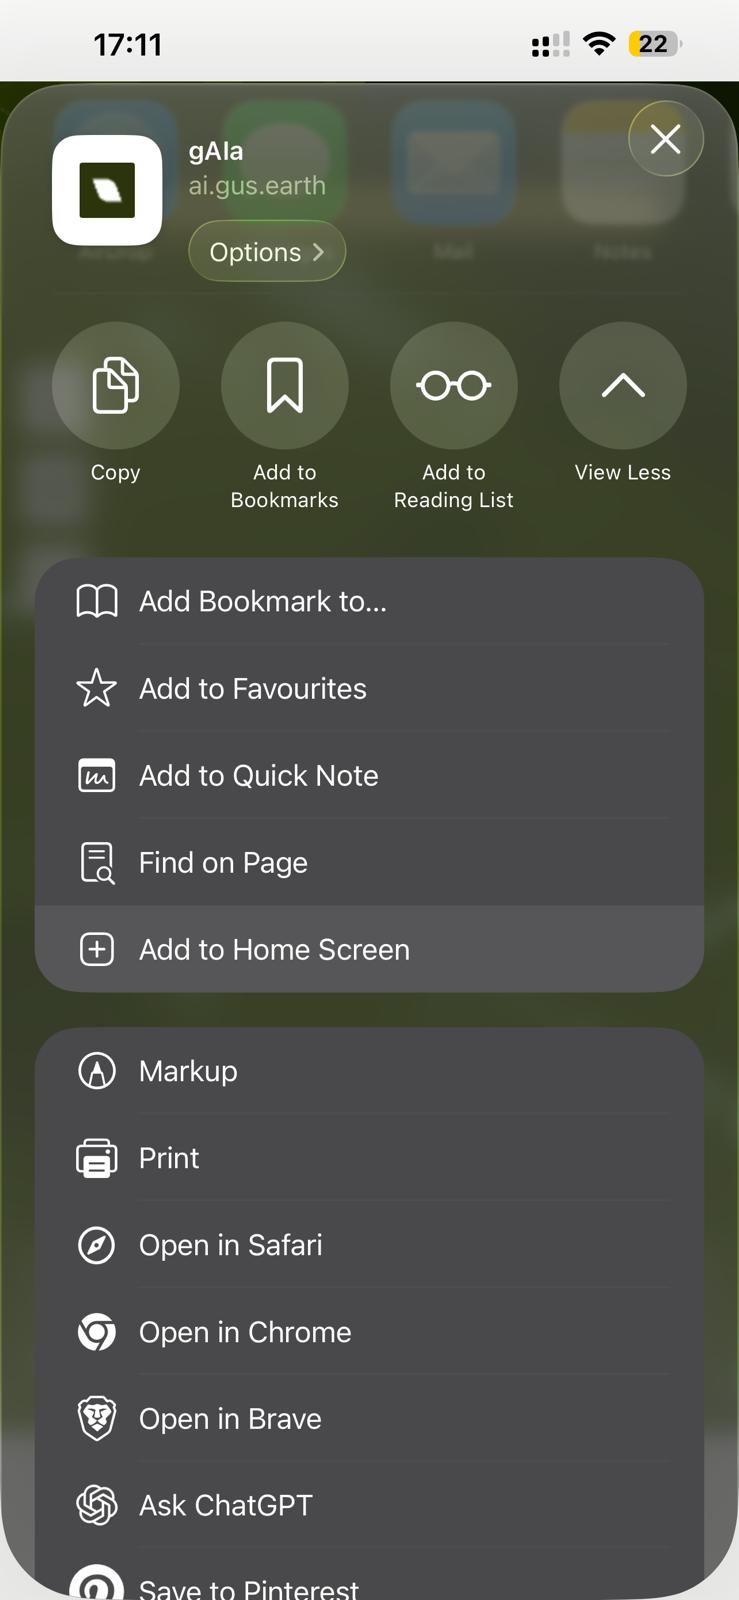
(Optional) Edit the app name to your preference, then tap Add in the top-right corner.
Note: On iPhone and iPad, Apple's WebKit rules mean only Safari can install gAIa as a true full-screen app (other browsers will just open it in a regular browser tab 😉).
Installing gAIa PWA on Android (Chrome)
- Open Chrome on your Android device.
- Go to https://ai.gus.earth
- Tap the three-dot menu (...) in the top-right corner.
- Select Add to Home screen (or Install app).
- Confirm by tapping Add or Install.
What Changes on Mobile?
Once installed, the gAIa icon will appear directly on your home screen or app library. Opening the app from this icon launches it in standalone full-screen mode, completely hiding the browser URL bar and web navigation controls for an immersive, native experience.
On Desktop (Mac & Windows)
Method 1: Using Google Chrome or Microsoft Edge (Mac & Windows)
Open Google Chrome or Microsoft Edge on your desktop.
Navigate to https://ai.gus.earth
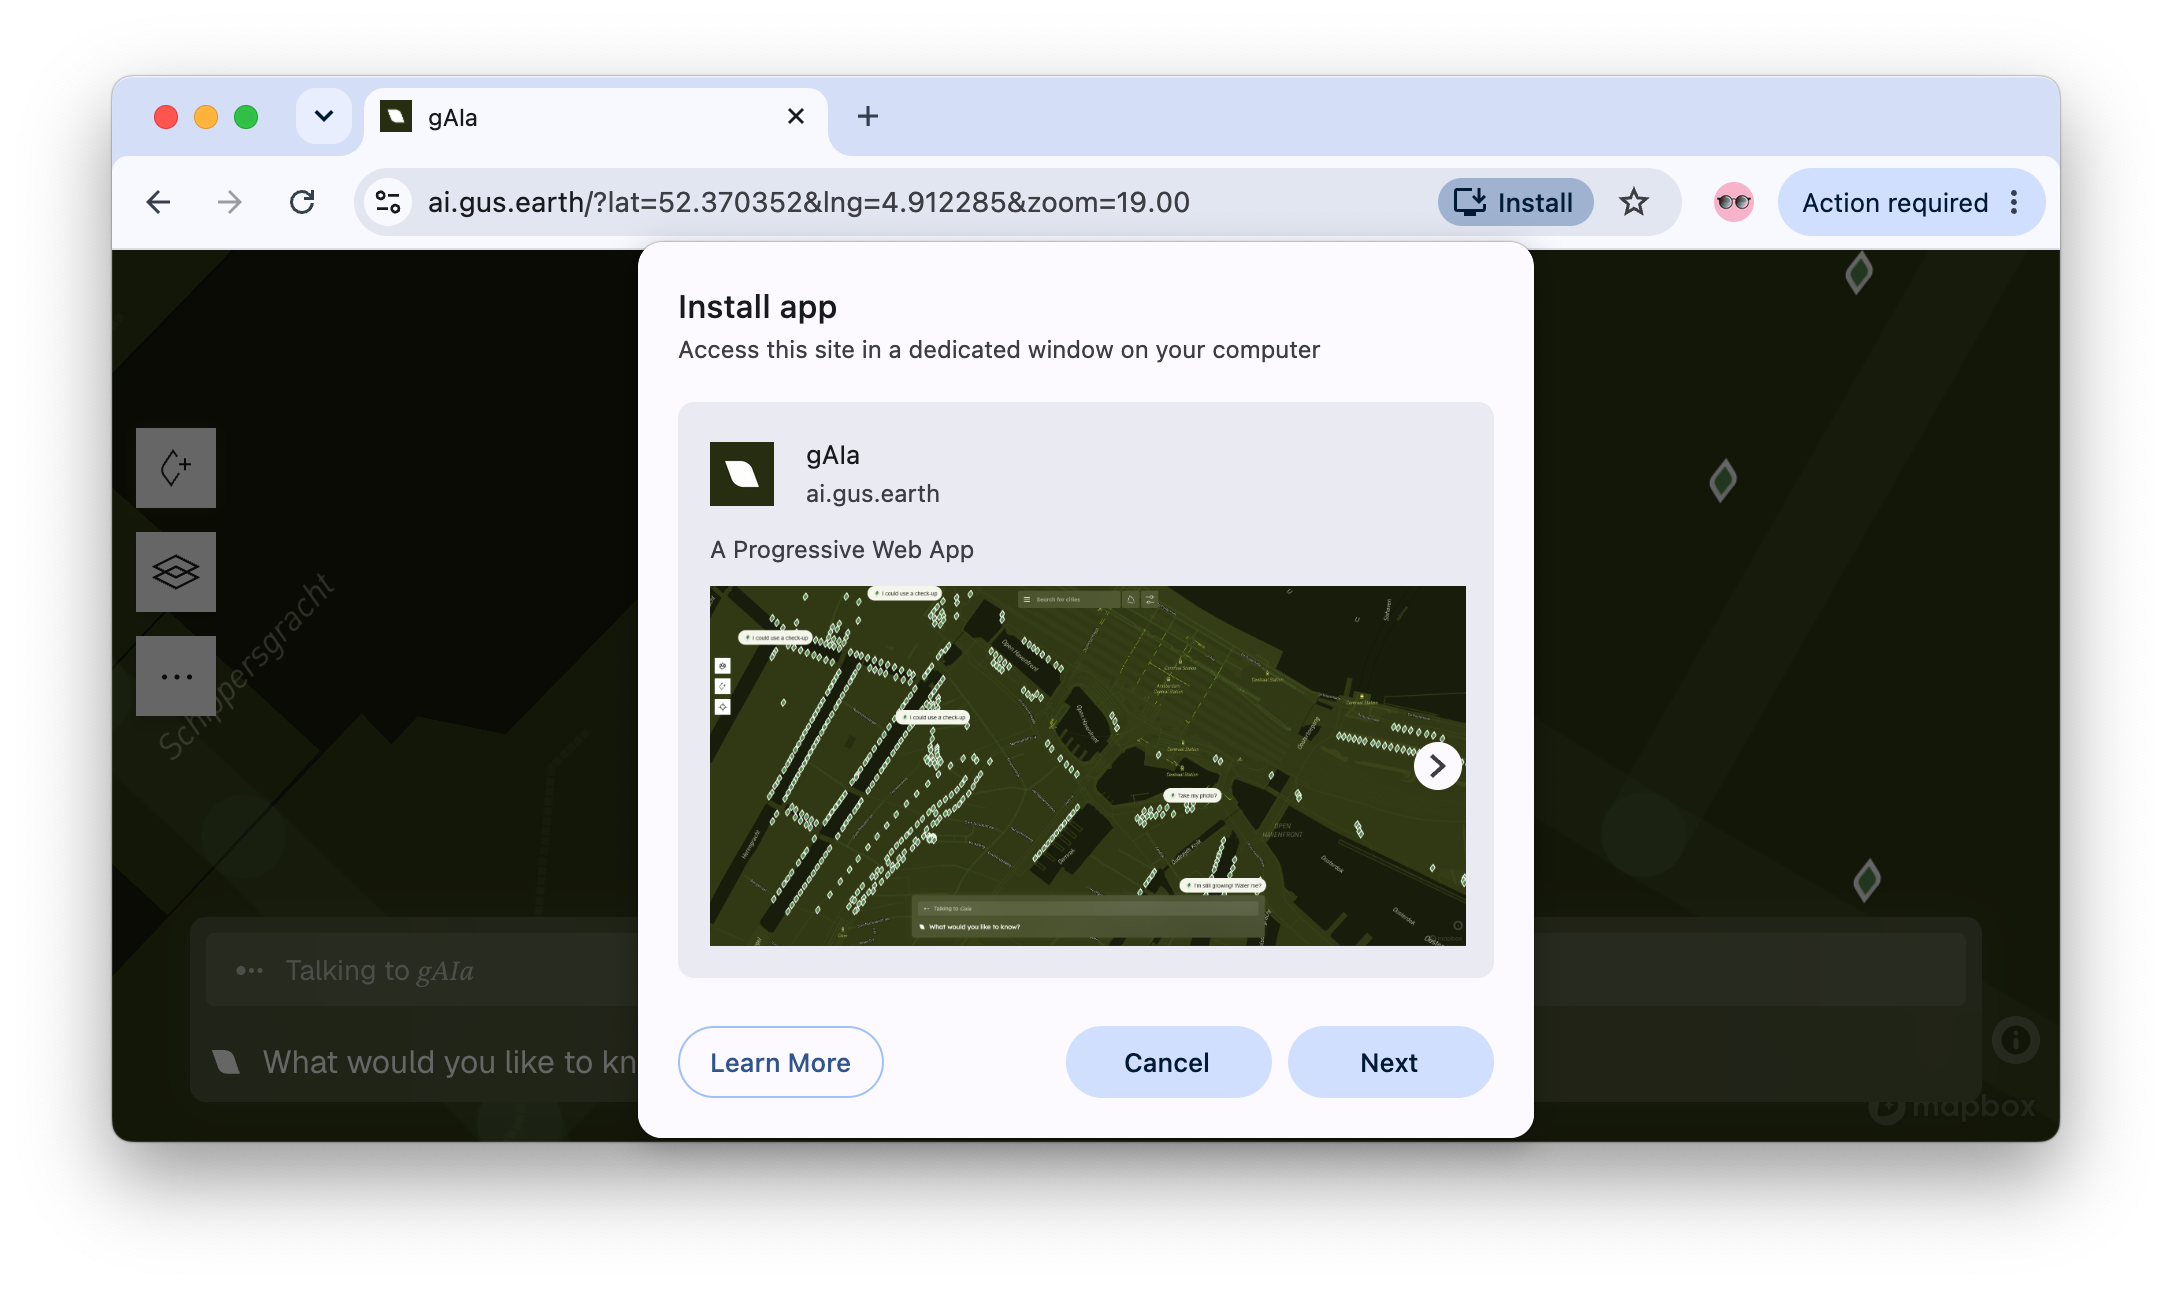
Look at the address bar (URL bar) at the top right of the browser window:
- Chrome: Click the Install button (a small icon resembling a computer screen with a down arrow).
- Edge: Click the App available button (an icon resembling three small squares with a plus sign).

A prompt will appear asking if you want to install gAIa. In Chrome, click Next:
Then click Install to confirm:
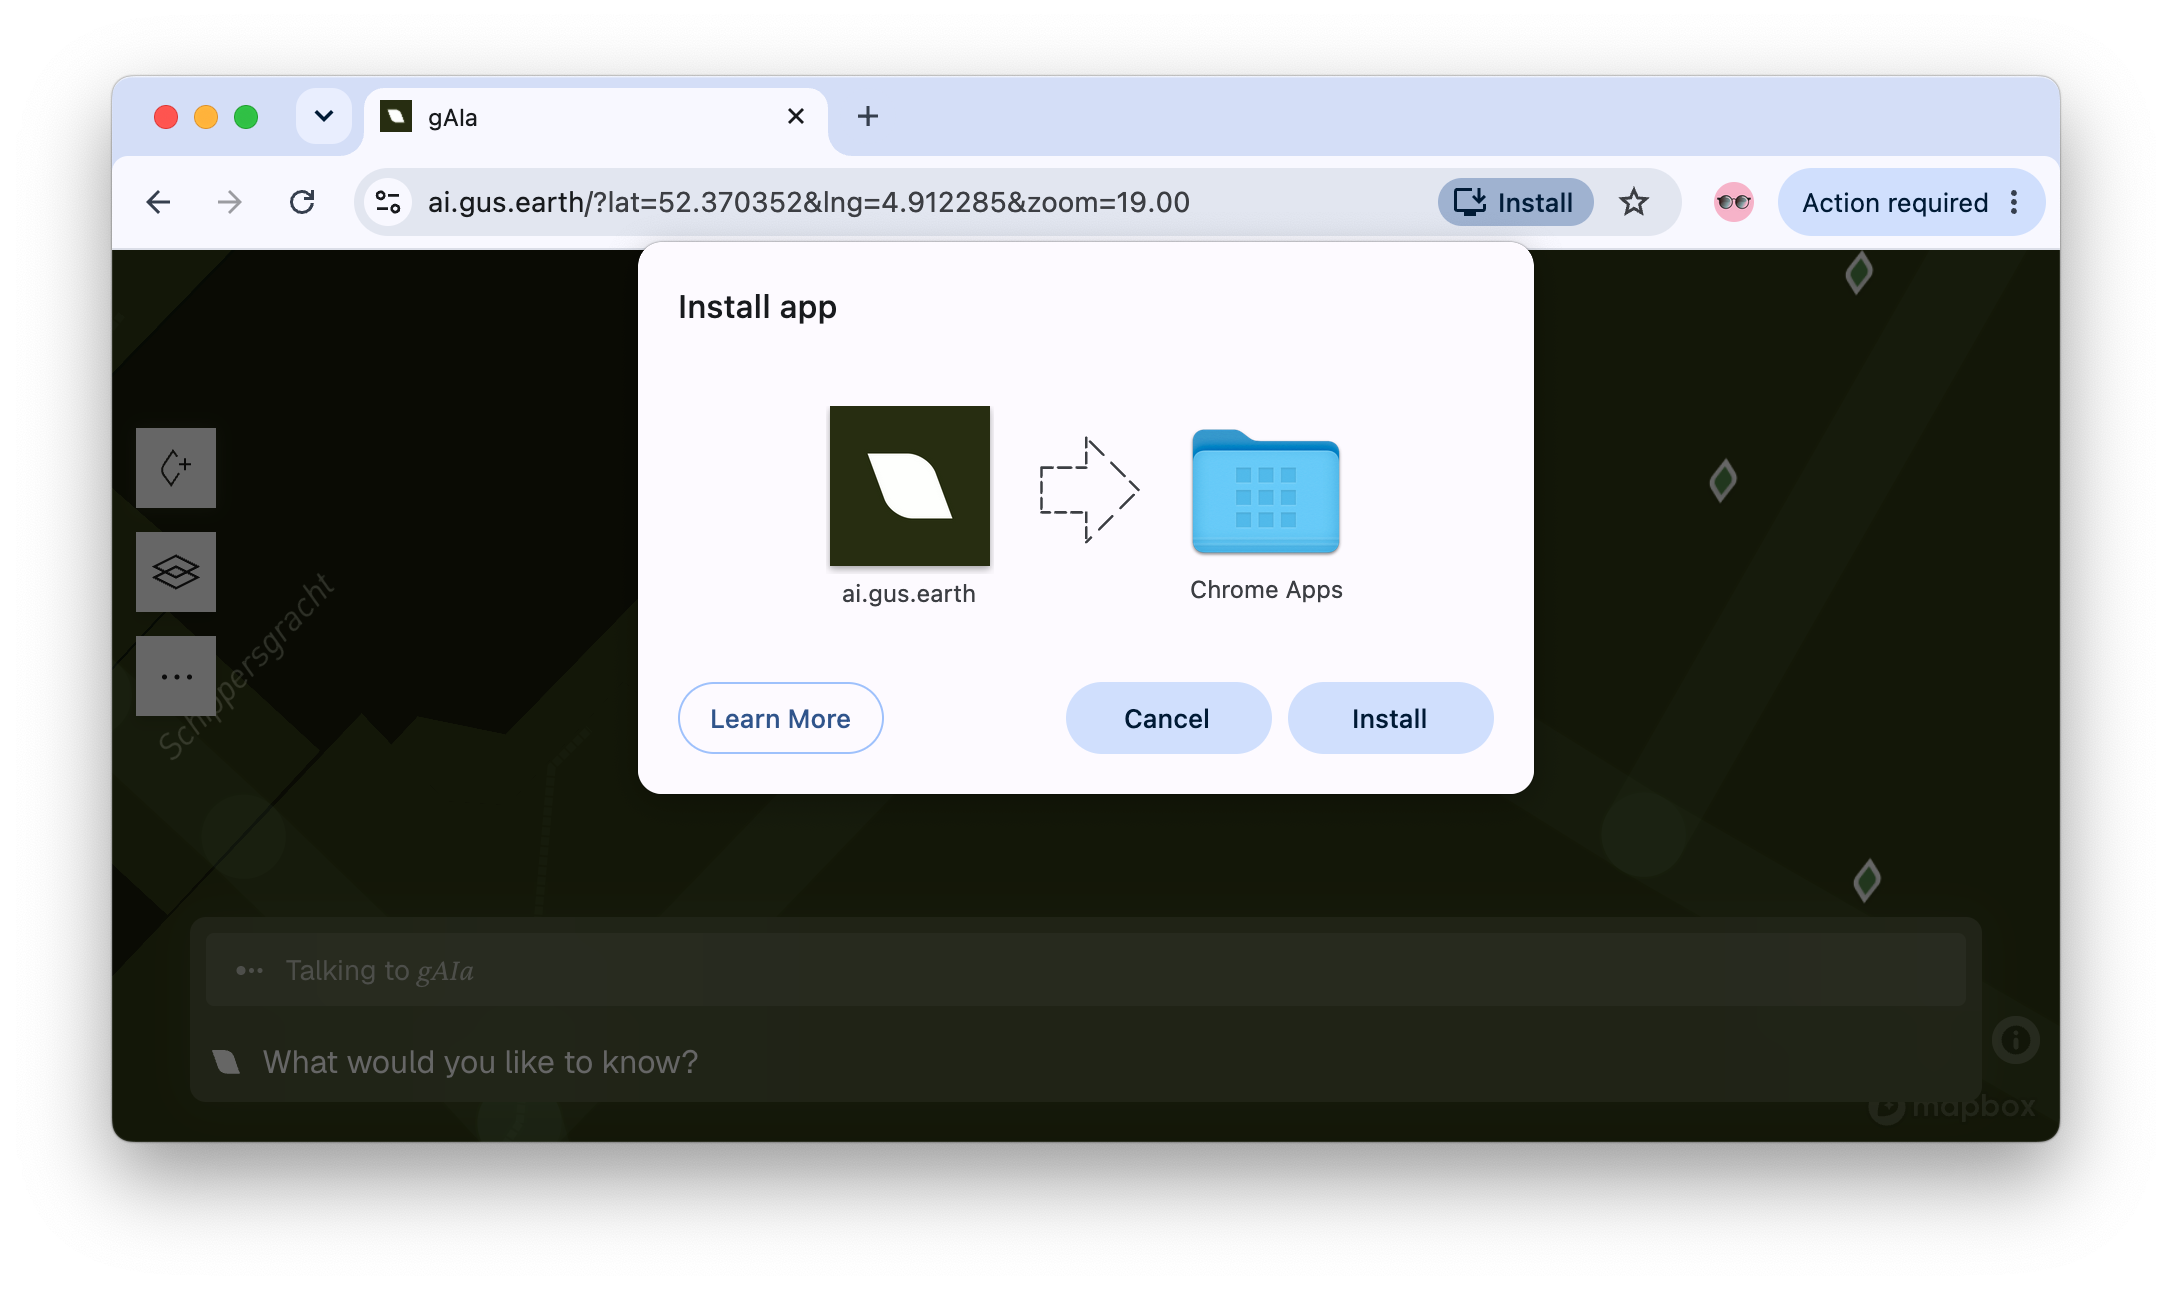
gAIa opens in its own window, ready to use.
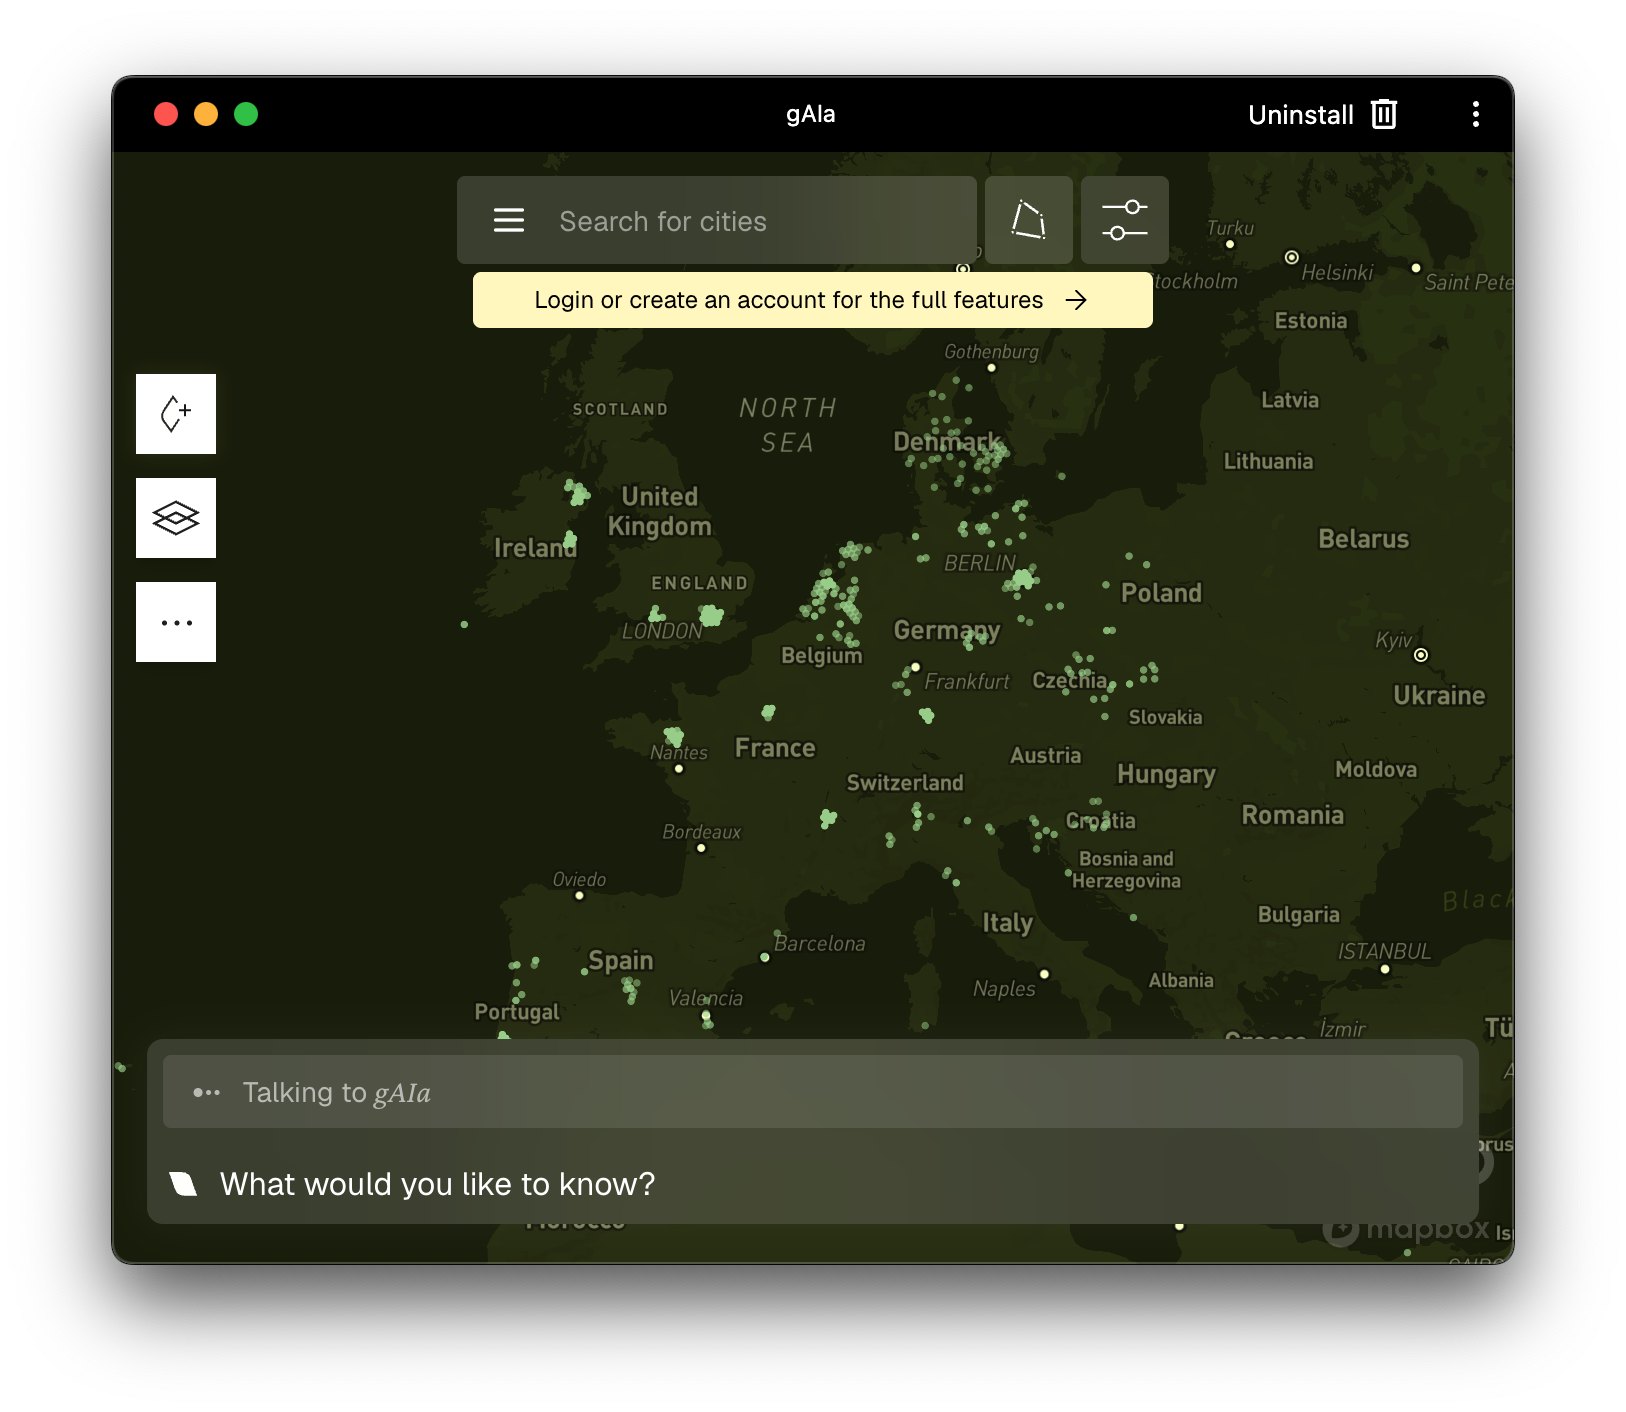
(Alternative Menu Option): If you do not see the icon in the address bar:
- Click the three dots menu (...) in the top-right corner of Chrome or Edge.
- Go to Save and Share (Chrome) or Apps (Edge).
- Click Install gAIa.
Method 2: Using Safari (macOS Sonoma 14 or later)
Open Safari on your Mac.
Navigate to https://ai.gus.earth
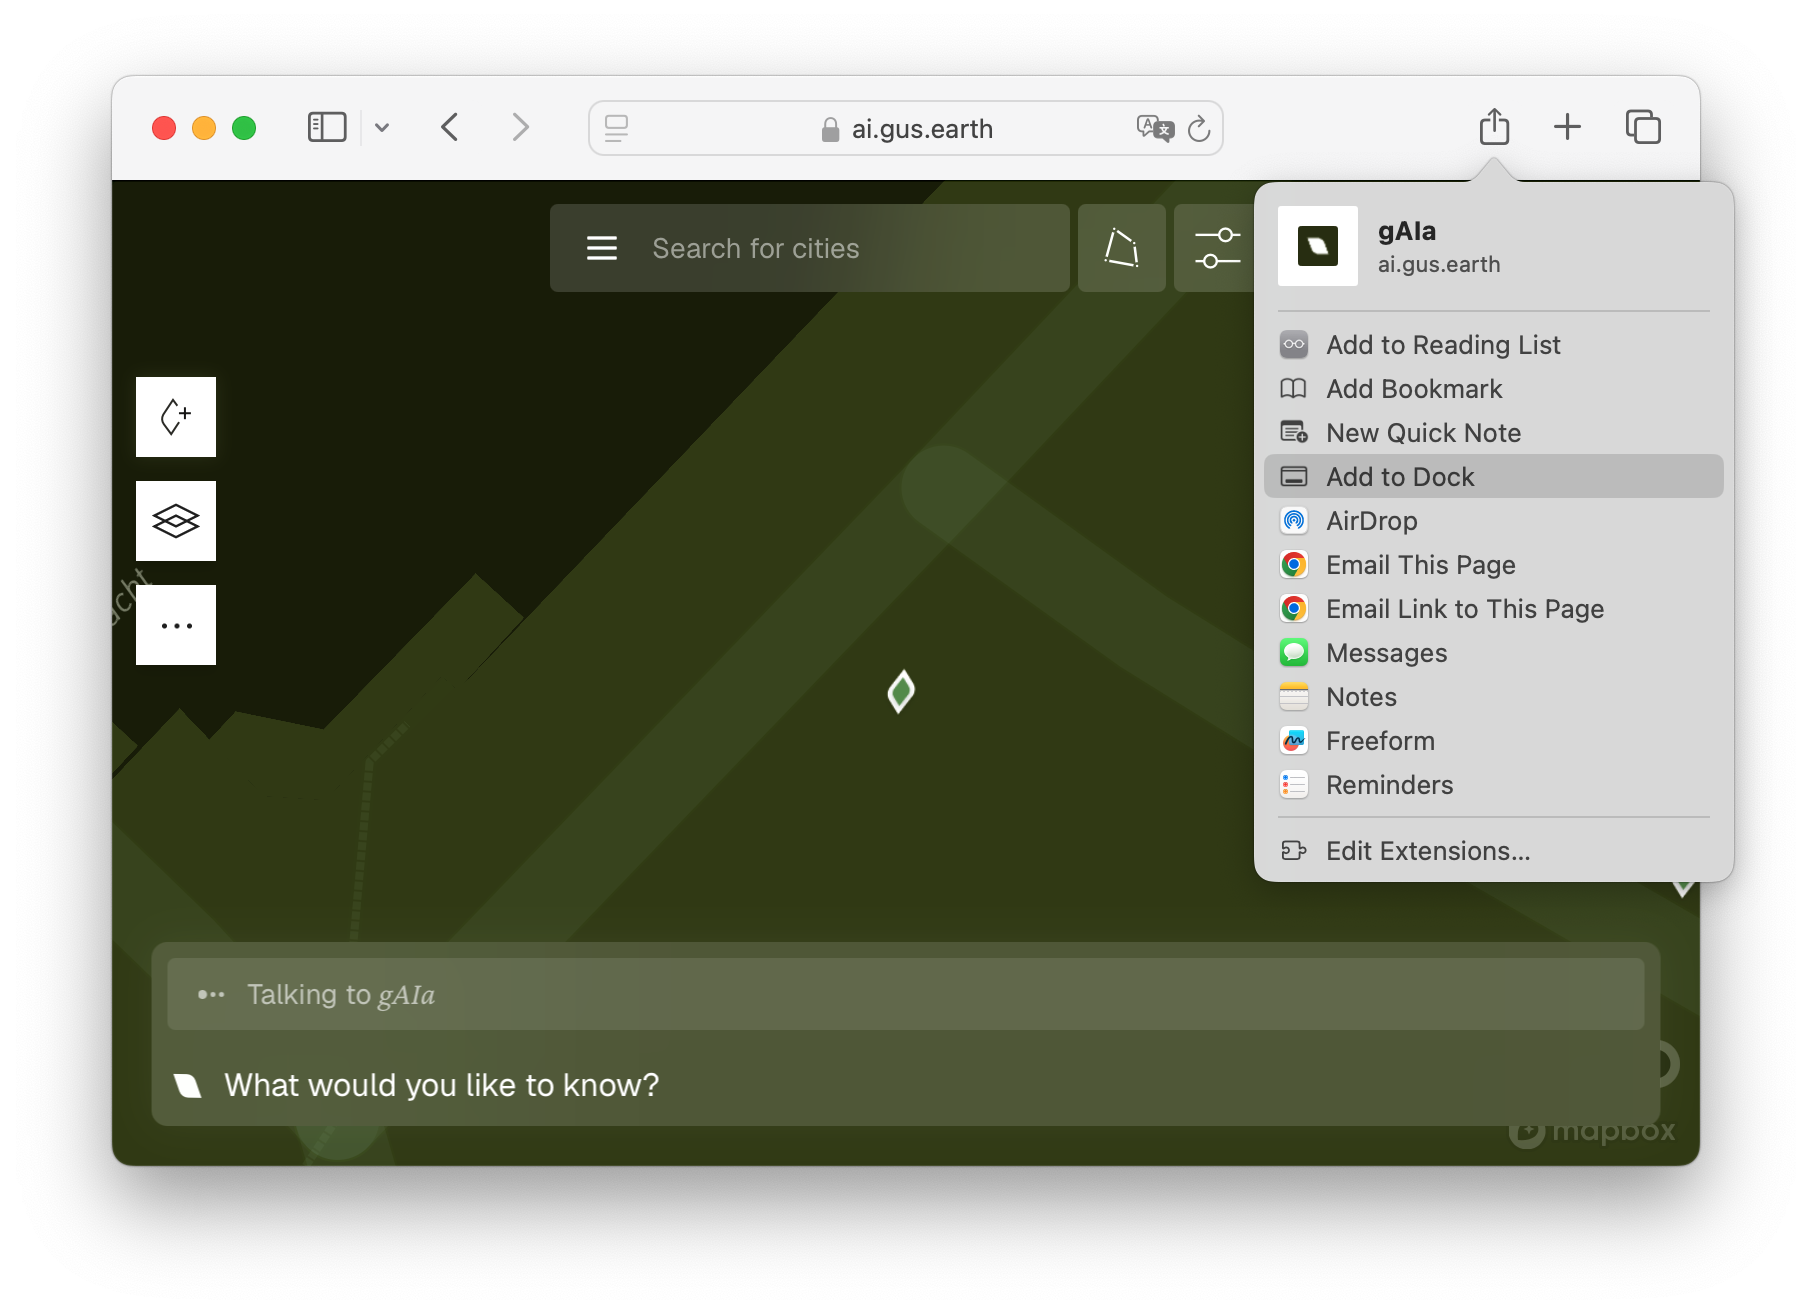
Click the Share button in the Safari toolbar (or go to File in the top menu bar).
Select Add to Dock.
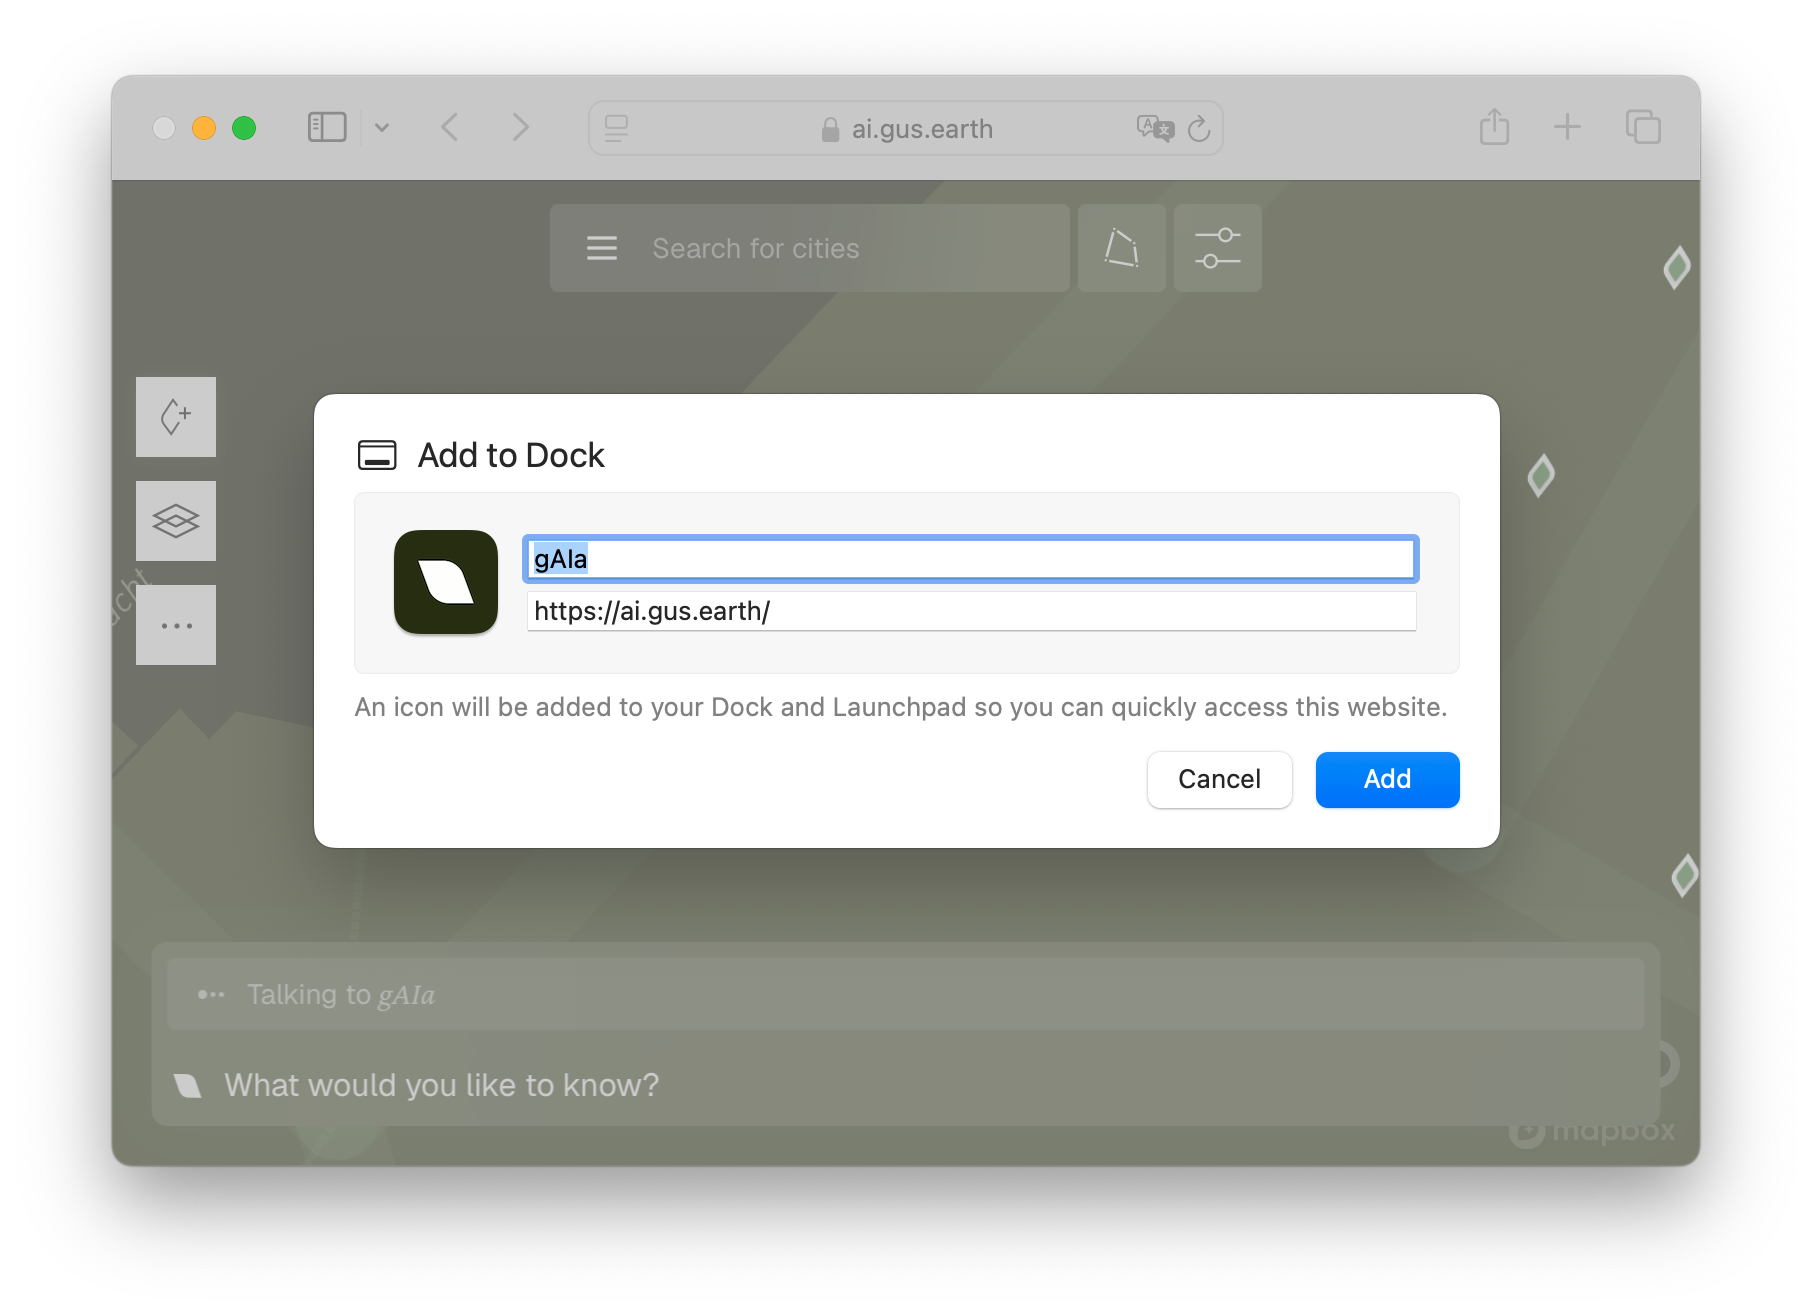
Confirm the app name and click Add.
What Changes on the Desktop?
- Dedicated Window: gAIa will launch in its own standalone window without browser tabs, bookmarks, or address bars.
- Easy Access:
- On Windows, gAIa will be accessible directly from your Start Menu, Taskbar, and Desktop Shortcuts.
- On macOS, gAIa will sit natively in your Dock, Applications Folder, and respond to Spotlight Search (Cmd + Space).
What's next
Now that gAIa is installed, head to Part 1: Getting Around the gAIa Map for a quick tour of the map screen.